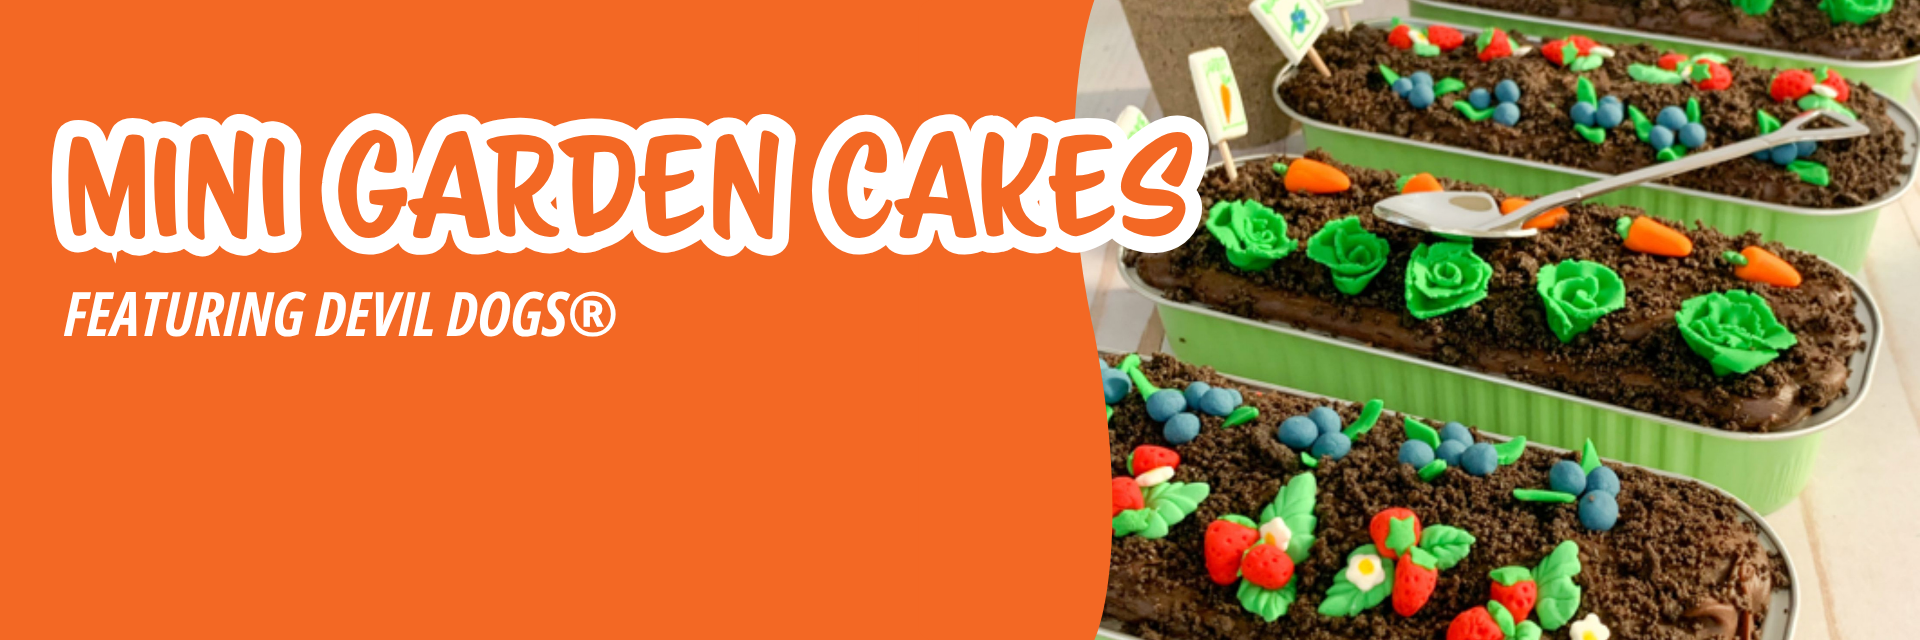
Celebrate the joys of spring with
Mini Garden Cakes from our friends at
Party Pinching! These charming, no-bake treats transform classic
Devil Dogs® into delightful edible gardens, complete with fondant vegetables, cookie crumb "soil," and colorful sprinkles. Perfect for Easter, garden parties, or any seasonal celebration, they’re as fun to make as they are to enjoy. These creative and whimsical dessert ideas brings a playful garden theme to your table. You can skip the oven, too, because this easy-to-assemble dessert requires minimal effort. Serve in mini loaf pans for individual portions or display as a festive centerpiece.
Add a fresh and fun twist to your springtime dessert lineup with these adorable garden-themed cakes! For the full recipe, including more details and step-by-step pictures, please visit
here.
Makes 8 Servings
Ingredients:
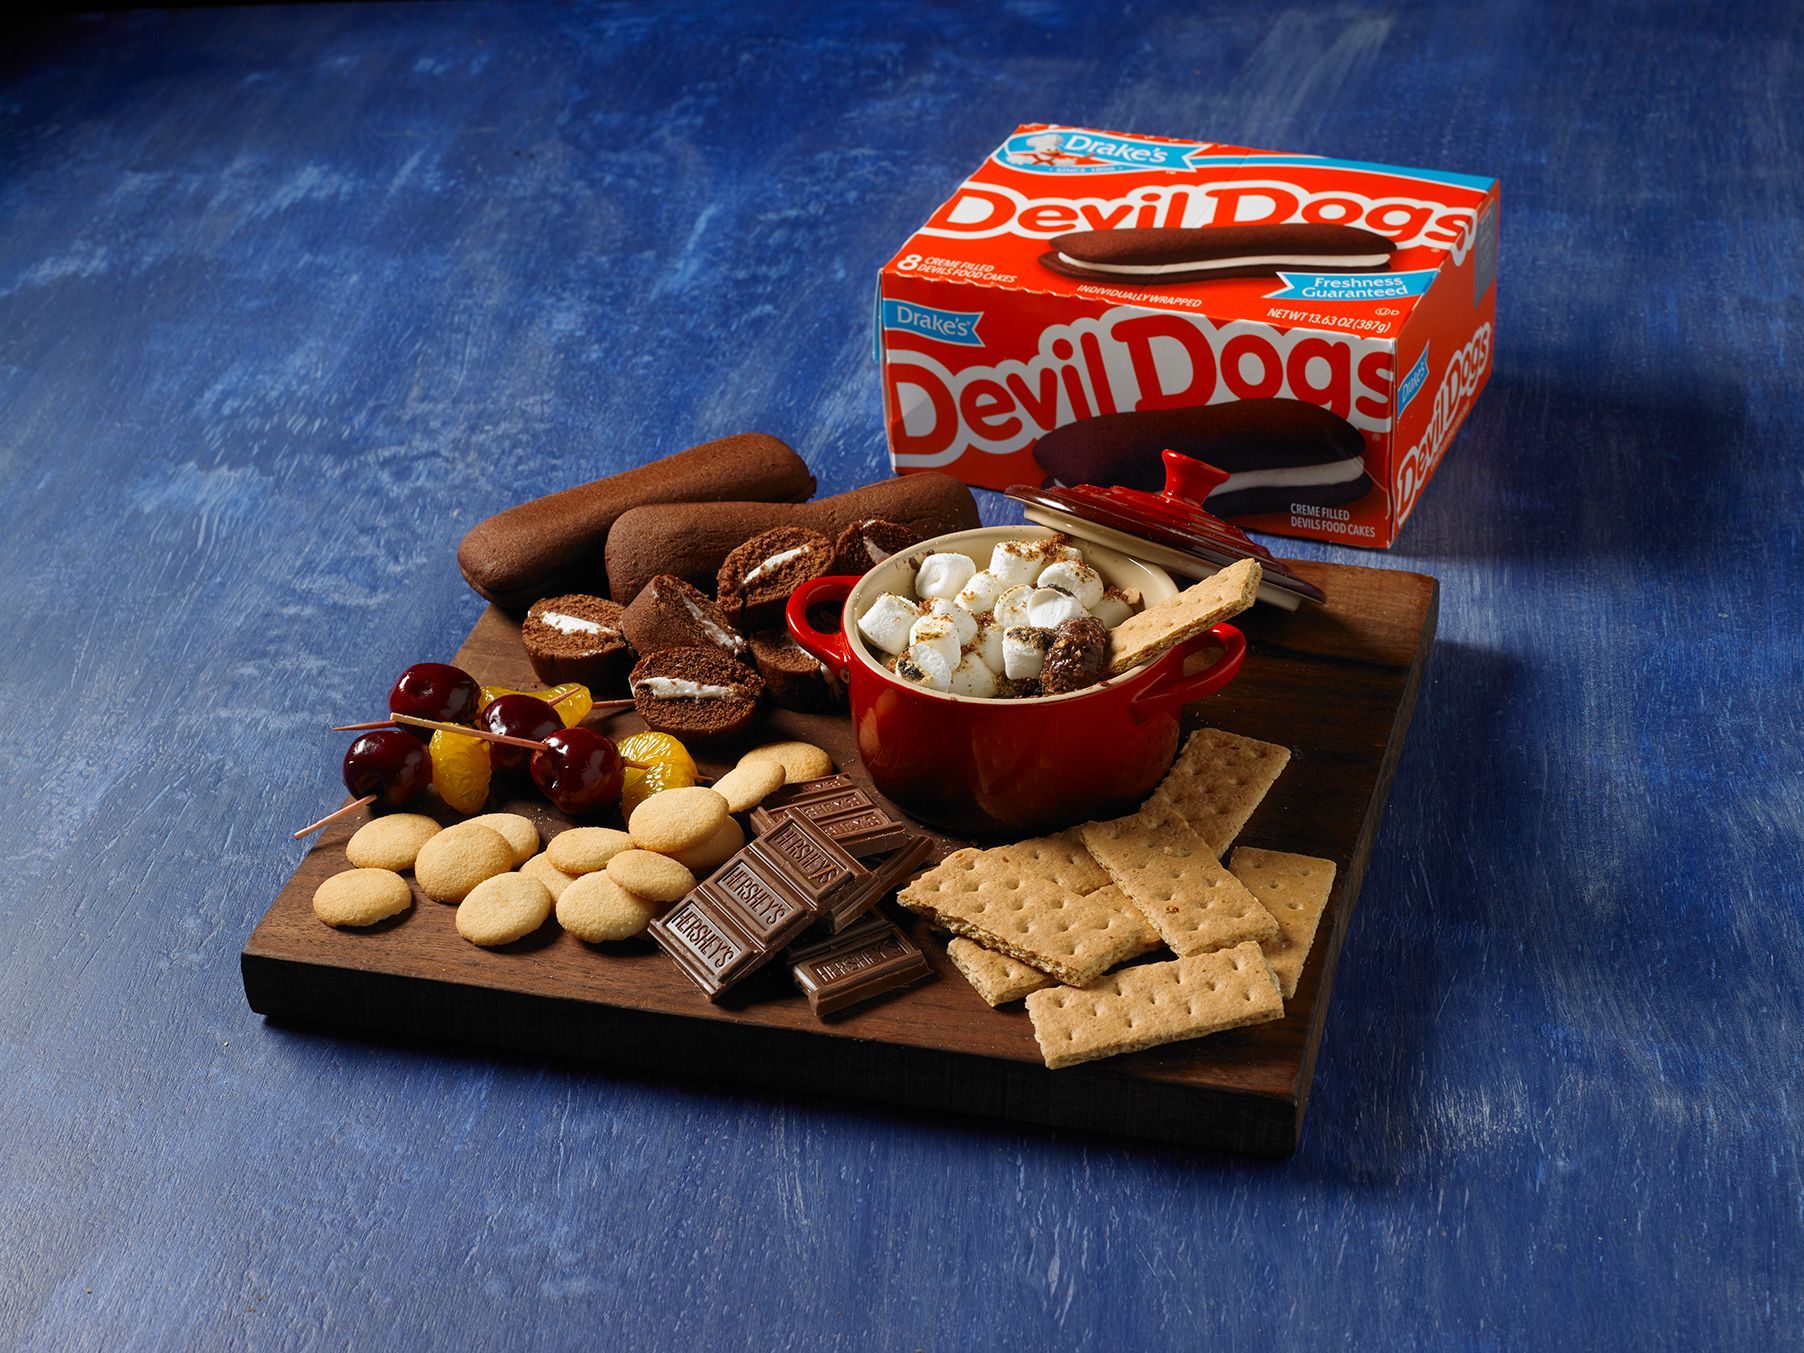
- 1 Carton Drake's Cakes Devil Dogs
- 1 Container Chocolate Frosting
- 1/2 Cup Crushed Chocolate Sandwich Cookies
- Green Shamrock or Flower Sprinkles
- Green Star Sprinkles
- White Flower Sprinkles
- Orange Fondant
- Green Fondant
- Red Fondant
- Blue Fondant
- White Fondant
- Red, Orange, Green Yellow and Blue Edible Markers
- White Frosting or Melted Chocolate
Supplies:
- 6 Mini Loaf Pans with Lids
- #1A Piping Tip
- Disposable Piping Bag
- Mini Shovel Spoons, Optional
- Small Silicone Leaf Mold, Optional
Directions:
- First unwrap a Devil Dog and place in the mini loaf pan.
- Next unwrap a second Devil Dog and cut ¼ of the cake.
- Place the ¼ cut piece to fill the gap in the pan.
- Frost the top of the cake with chocolate frosting using the #1A large round-piping tip
- Immediately sprinkle the crushed chocolate sandwich cookies on top
- Make a small carrot shape using the orange fondant.
- Attach a green shamrock or flower sprinkle by pushing it in to the top of the carrot. You can secure this with a toothpick dipped in water if desired.
- Next roll out the green fondant and cut in half using a pizza cutter or knife.
- Then roll the fondant with the rough edges on top to look like lettuce, pinching the bottom to secure.
- Now make strawberries out of the red fondant and poke little holes using a toothpick
- Attach a green star sprinkle on top of each strawberry using a toothpick dipped in a little water.
- Using a yellow edible marker, make a dot in the middle of the white flower sprinkles.
- Press green fondant into a small silicone leaf mold
- Mix a little red fondant with blue fondant to make the color of blueberries
- Then roll a small amount of fondant in a ball to make blueberries
- Roll out white fondant and cut into small strips using a pizza cutter or knife.
- Cut the strips into small rectangles for the garden signs. Let dry 24 hours.
- Draw and label the fruits and vegetables on the signs using edible markers.
- Attach a toothpick to the back of the signs with frosting or melted chocolate
- Place the carrots on one side of the cake – I used 5 carrots in a row
- Next place the lettuce on the other side of the cake
- Place the strawberries, white flowers and leaves on one side of the cake (again, I used 5 bunches for each row)
- Repeat the other side using blueberries
- Place the signs at the end of each row.
Product Featured:

More Devil Dogs Fabricaketions